
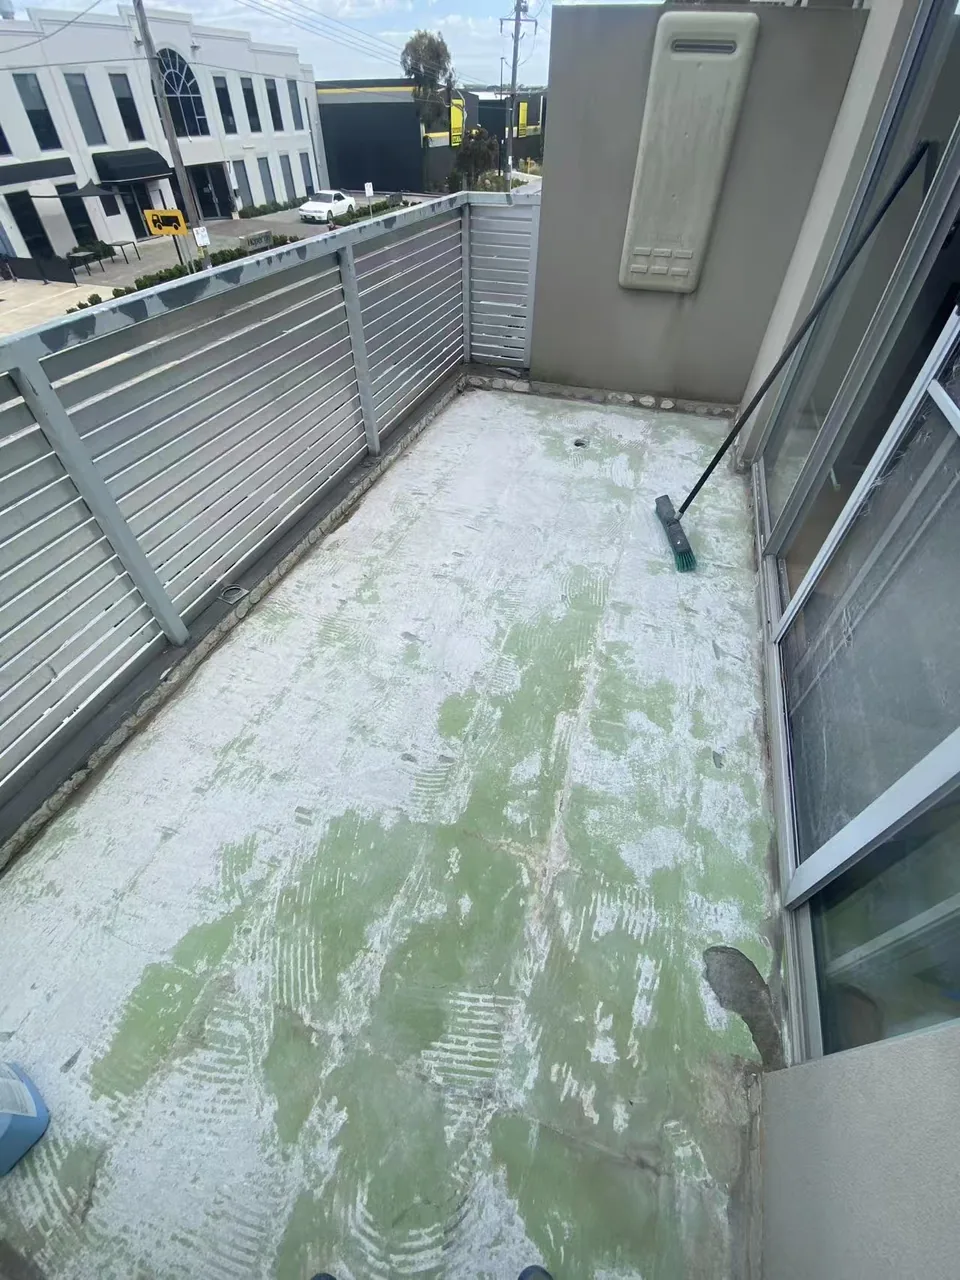
 Before
Prepared balcony surface
The existing surface has been cleaned back so the floor, perimeter and drainage points can be checked before membrane work begins.
The cleaned and prepared balcony surface before the membrane stages.
Four visible stages
Follow the balcony floor through surface preparation, threshold treatment, blue membrane application and the completed membrane layer. The right approach for any balcony still depends on its existing surface, drainage, junctions and intended finish.
Before and after
The comparison keeps the focus on the waterproofing layer itself: the prepared floor before coating and the balcony after the membrane application.
BeforeThe existing surface has been cleaned back so the floor, perimeter and drainage points can be checked before membrane work begins.
The cleaned and prepared balcony surface before the membrane stages.
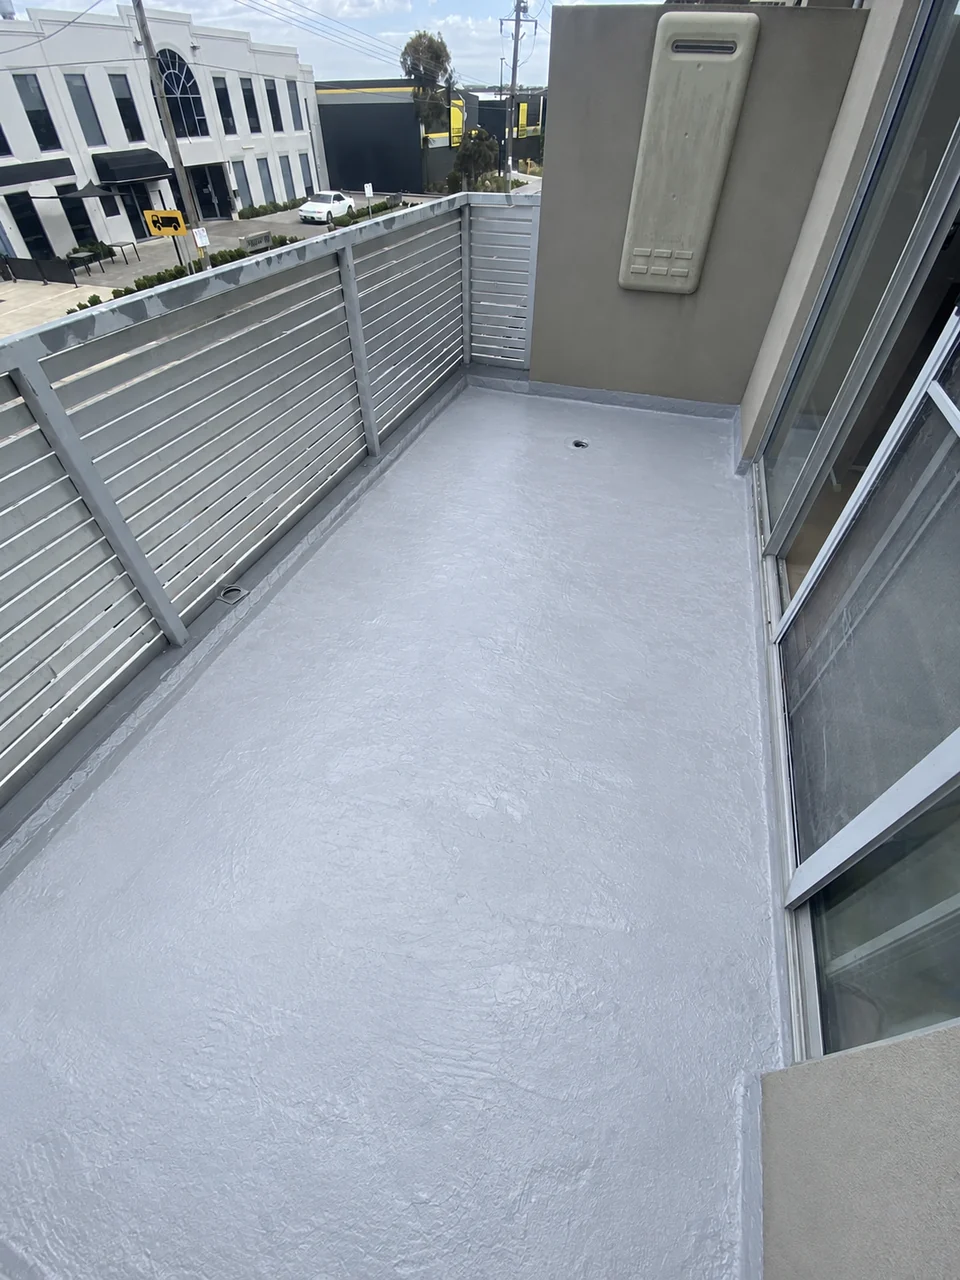 After
AfterThe balcony floor is shown with the waterproofing membrane carried across the main surface and into the perimeter junctions.
The completed membrane layer across the balcony floor.
Waterproofing sequence
Surface preparation and junction treatment come before the wider membrane coats. The close views below focus on the threshold treatment and membrane application.
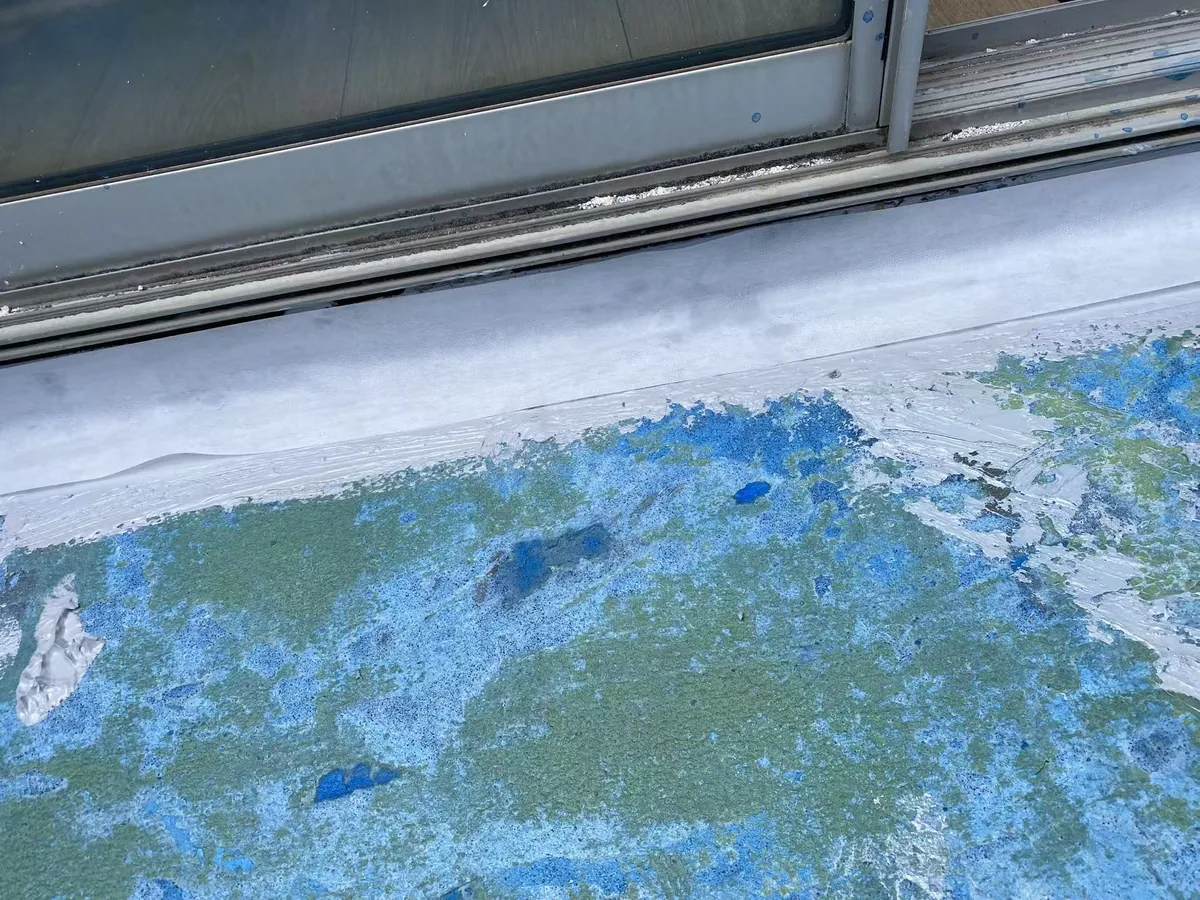 Stage 02
The sliding-door threshold and nearby junctions receive focused treatment before the full floor area is coated.
Close-up treatment at the threshold where the floor meets the door frame.
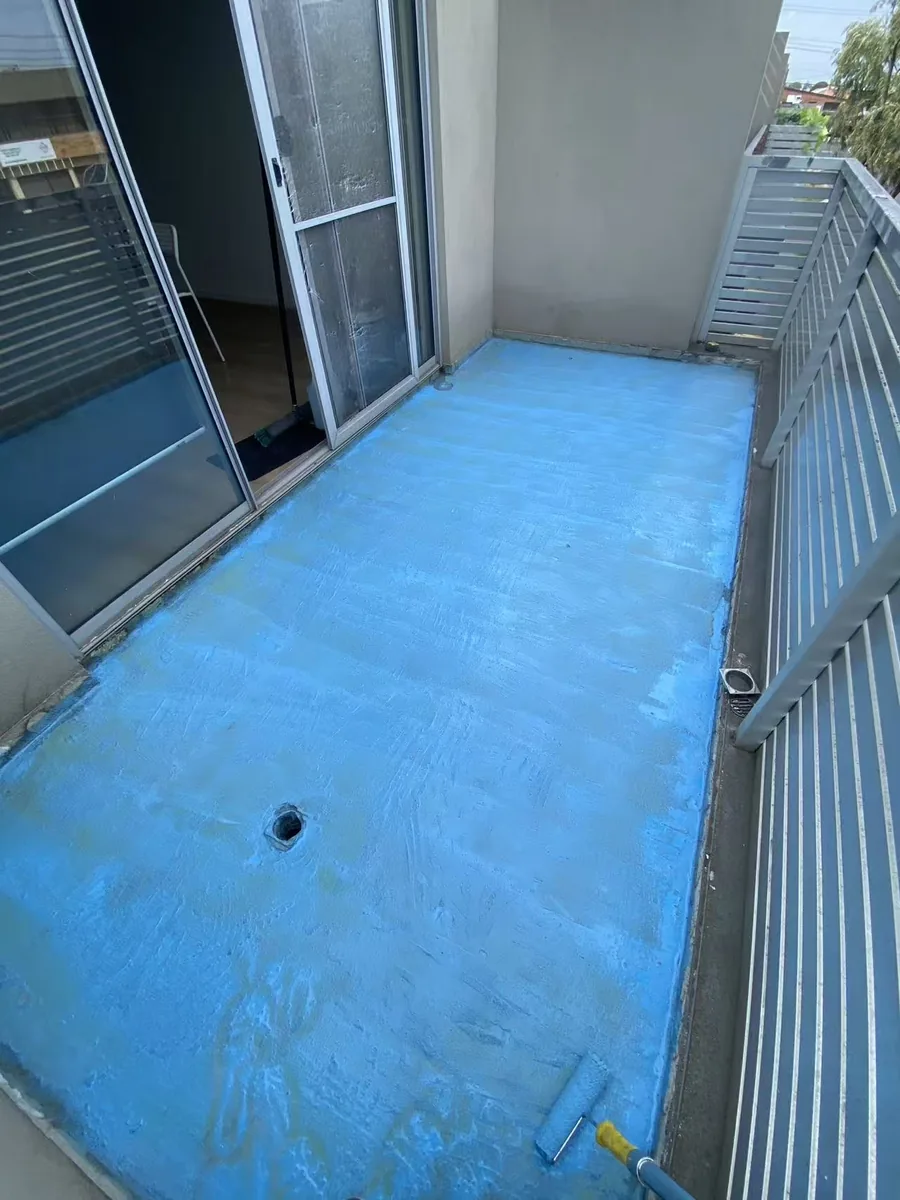 Stage 03
The coloured membrane is rolled across the balcony floor and around the drainage and perimeter details.
The blue membrane coat makes the treated floor and perimeter coverage easy to see.
Planning balcony waterproofing?
Photos of the balcony and the area below can help clarify the existing condition before an inspection or quote is arranged.