
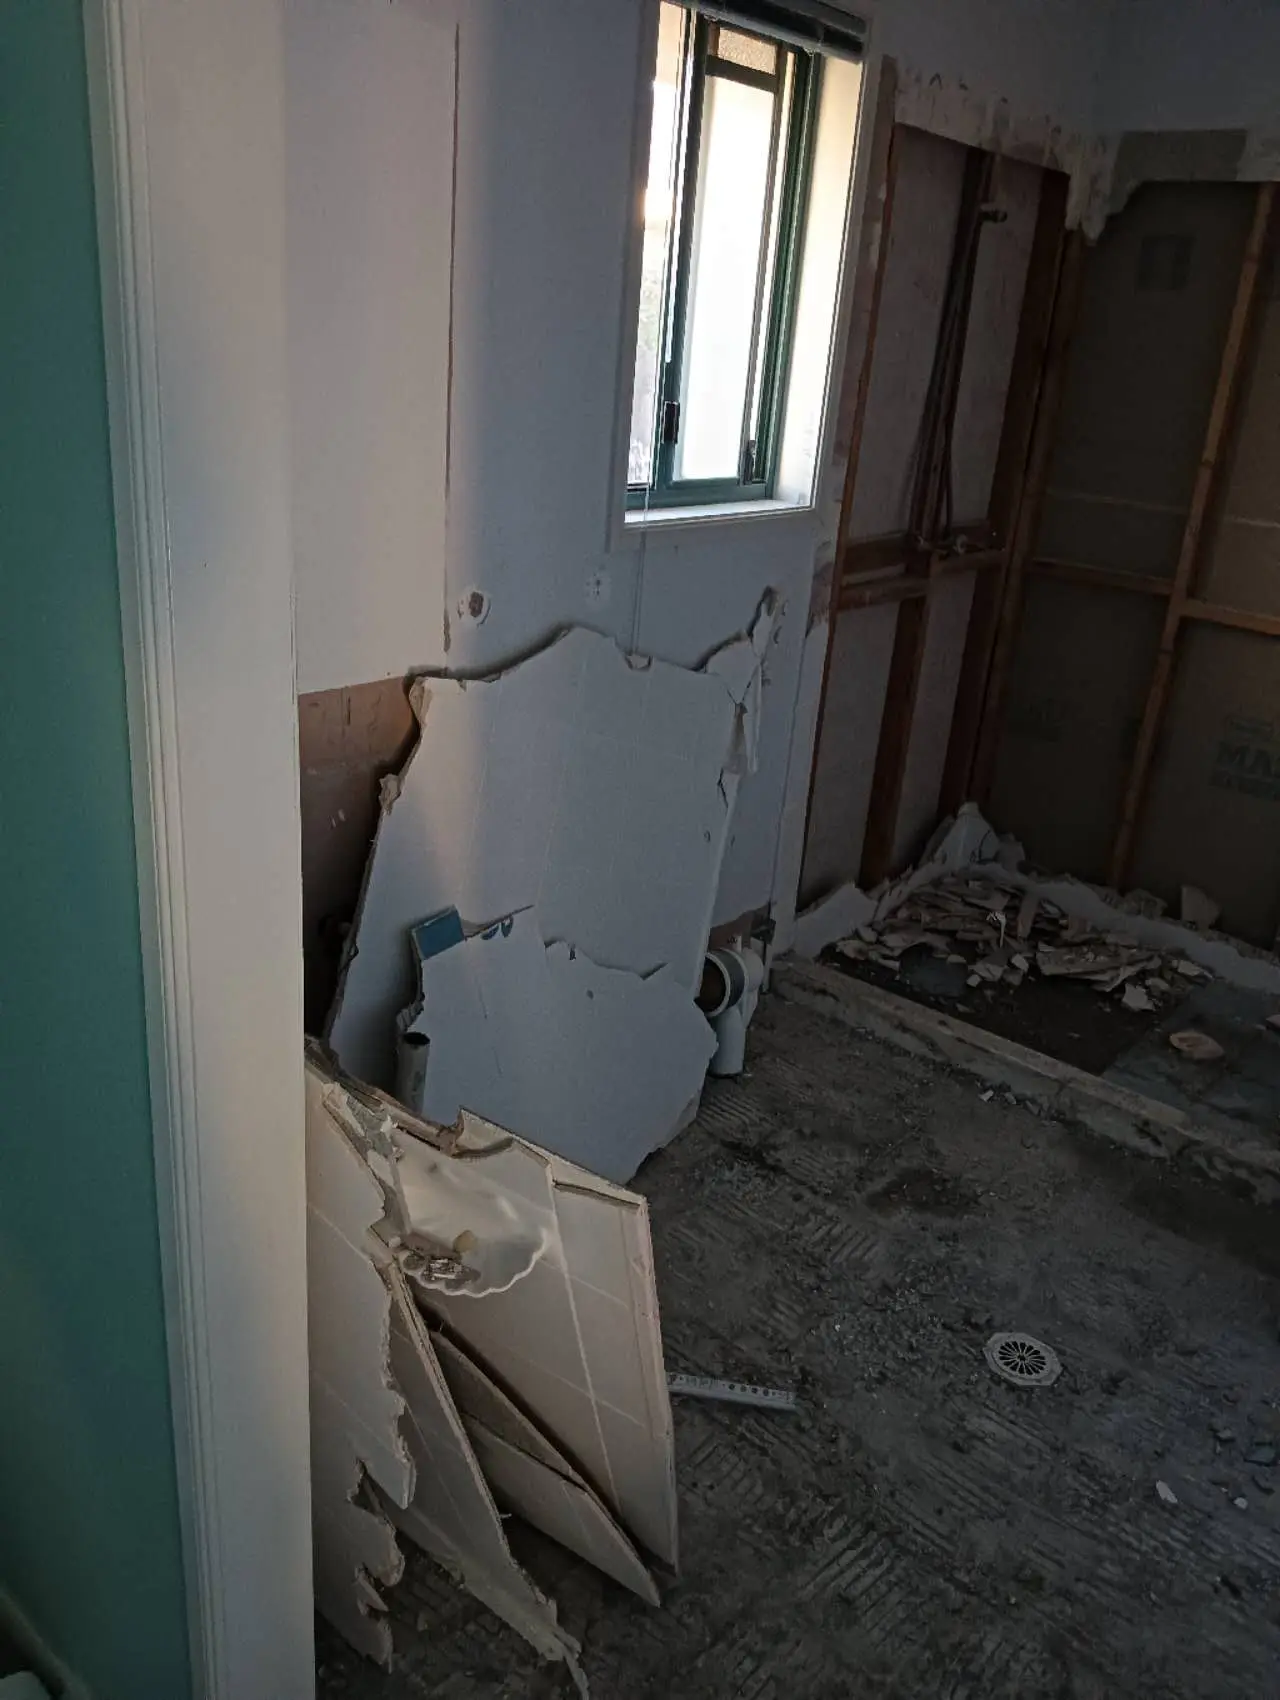
 Stage 01
Bathroom strip-out
Existing wall linings, tiles and fixtures are removed to expose the working area.
Old finishes removed to expose the room for inspection and rebuilding.
Real project photos · six visible stages
Follow one residential bathroom from strip-out and substrate preparation through waterproofing, tiling, fixture fit-out and completion. For Greater Brisbane properties, the final scope still depends on the existing surfaces, layout and drainage.
Project overview
The project moves from strip-out through surface preparation, waterproofing, tiling, fixture installation and the completed bathroom.
Construction sequence
The photos below follow the work from preparation through waterproofing, tiling and the installed bathroom finish.
Stage 01Existing wall linings, tiles and fixtures are removed to expose the working area.
Old finishes removed to expose the room for inspection and rebuilding.
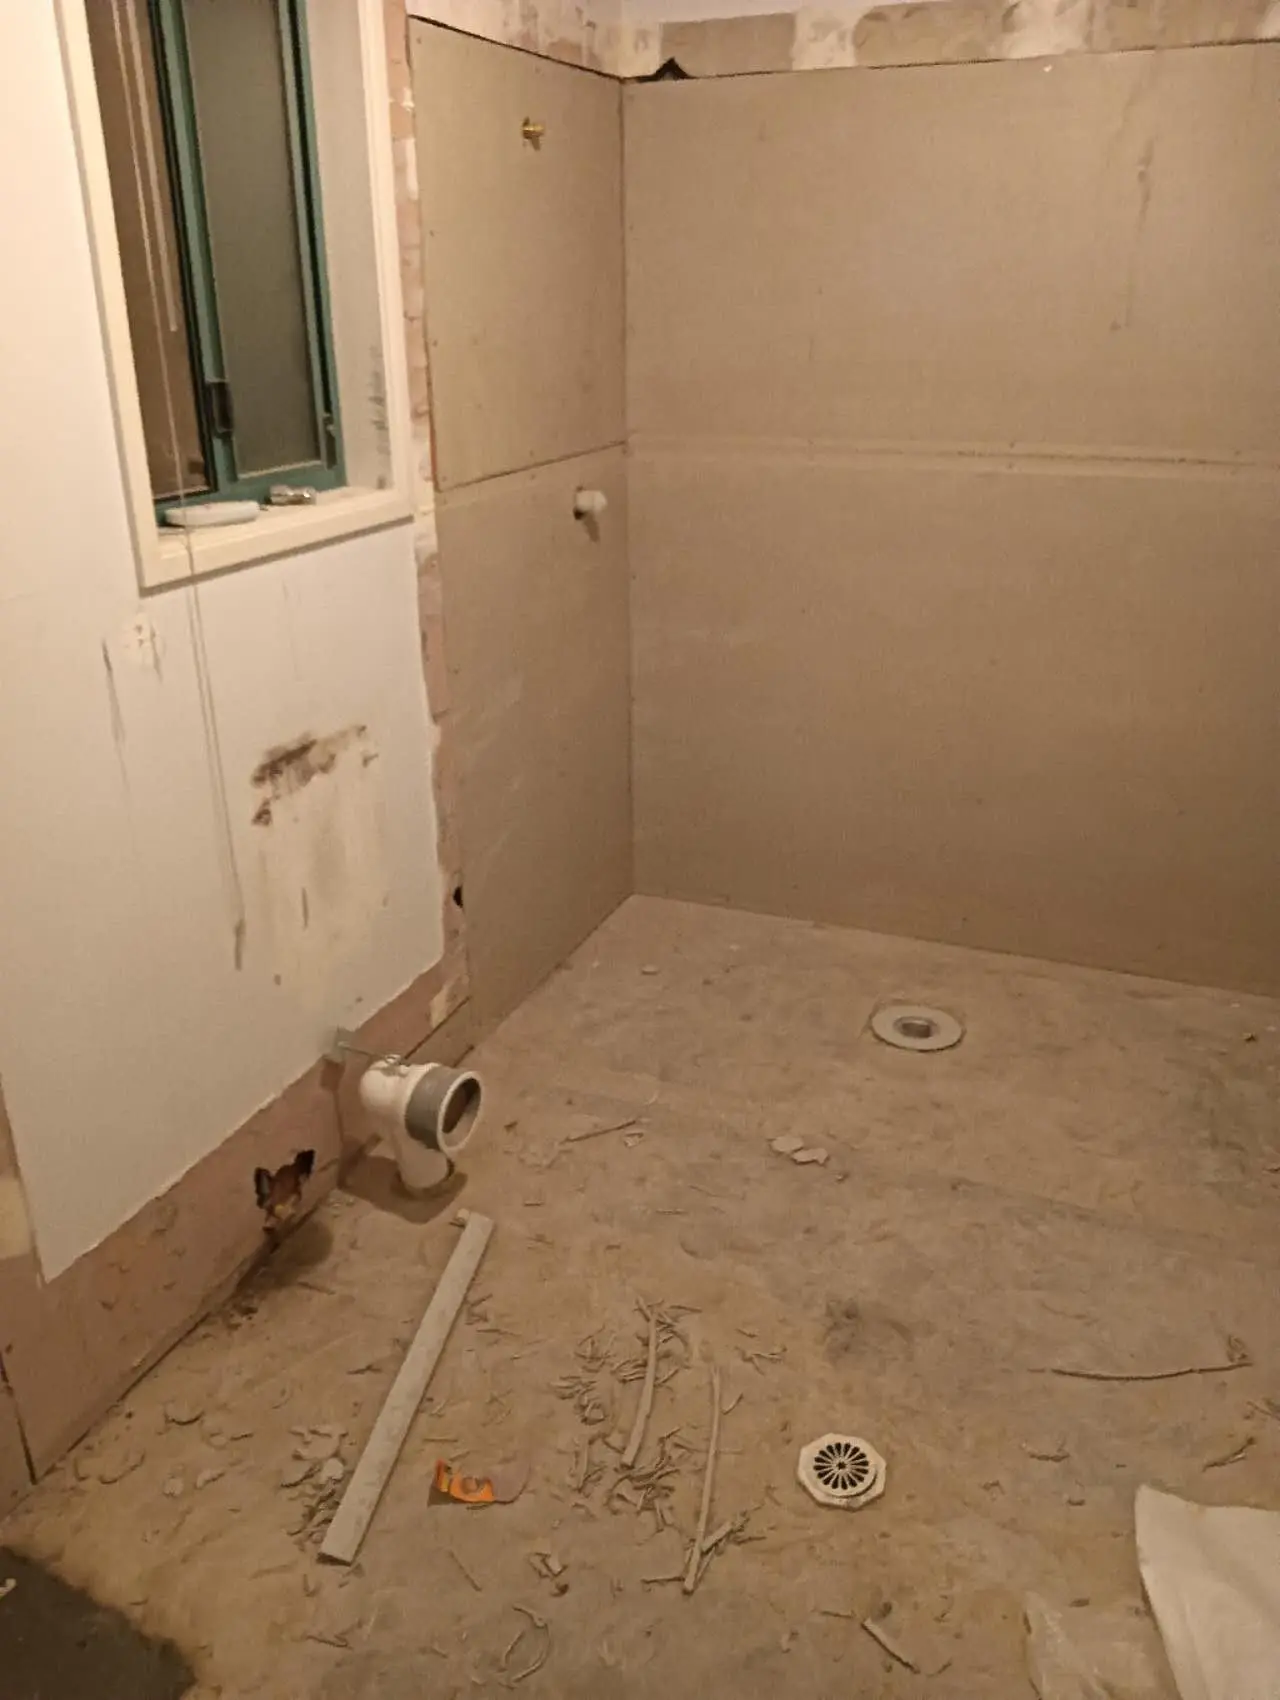 Stage 02
Walls and floors are prepared around the shower, drainage points and plumbing penetrations.
Wet-area surfaces prepared before the waterproofing stage.
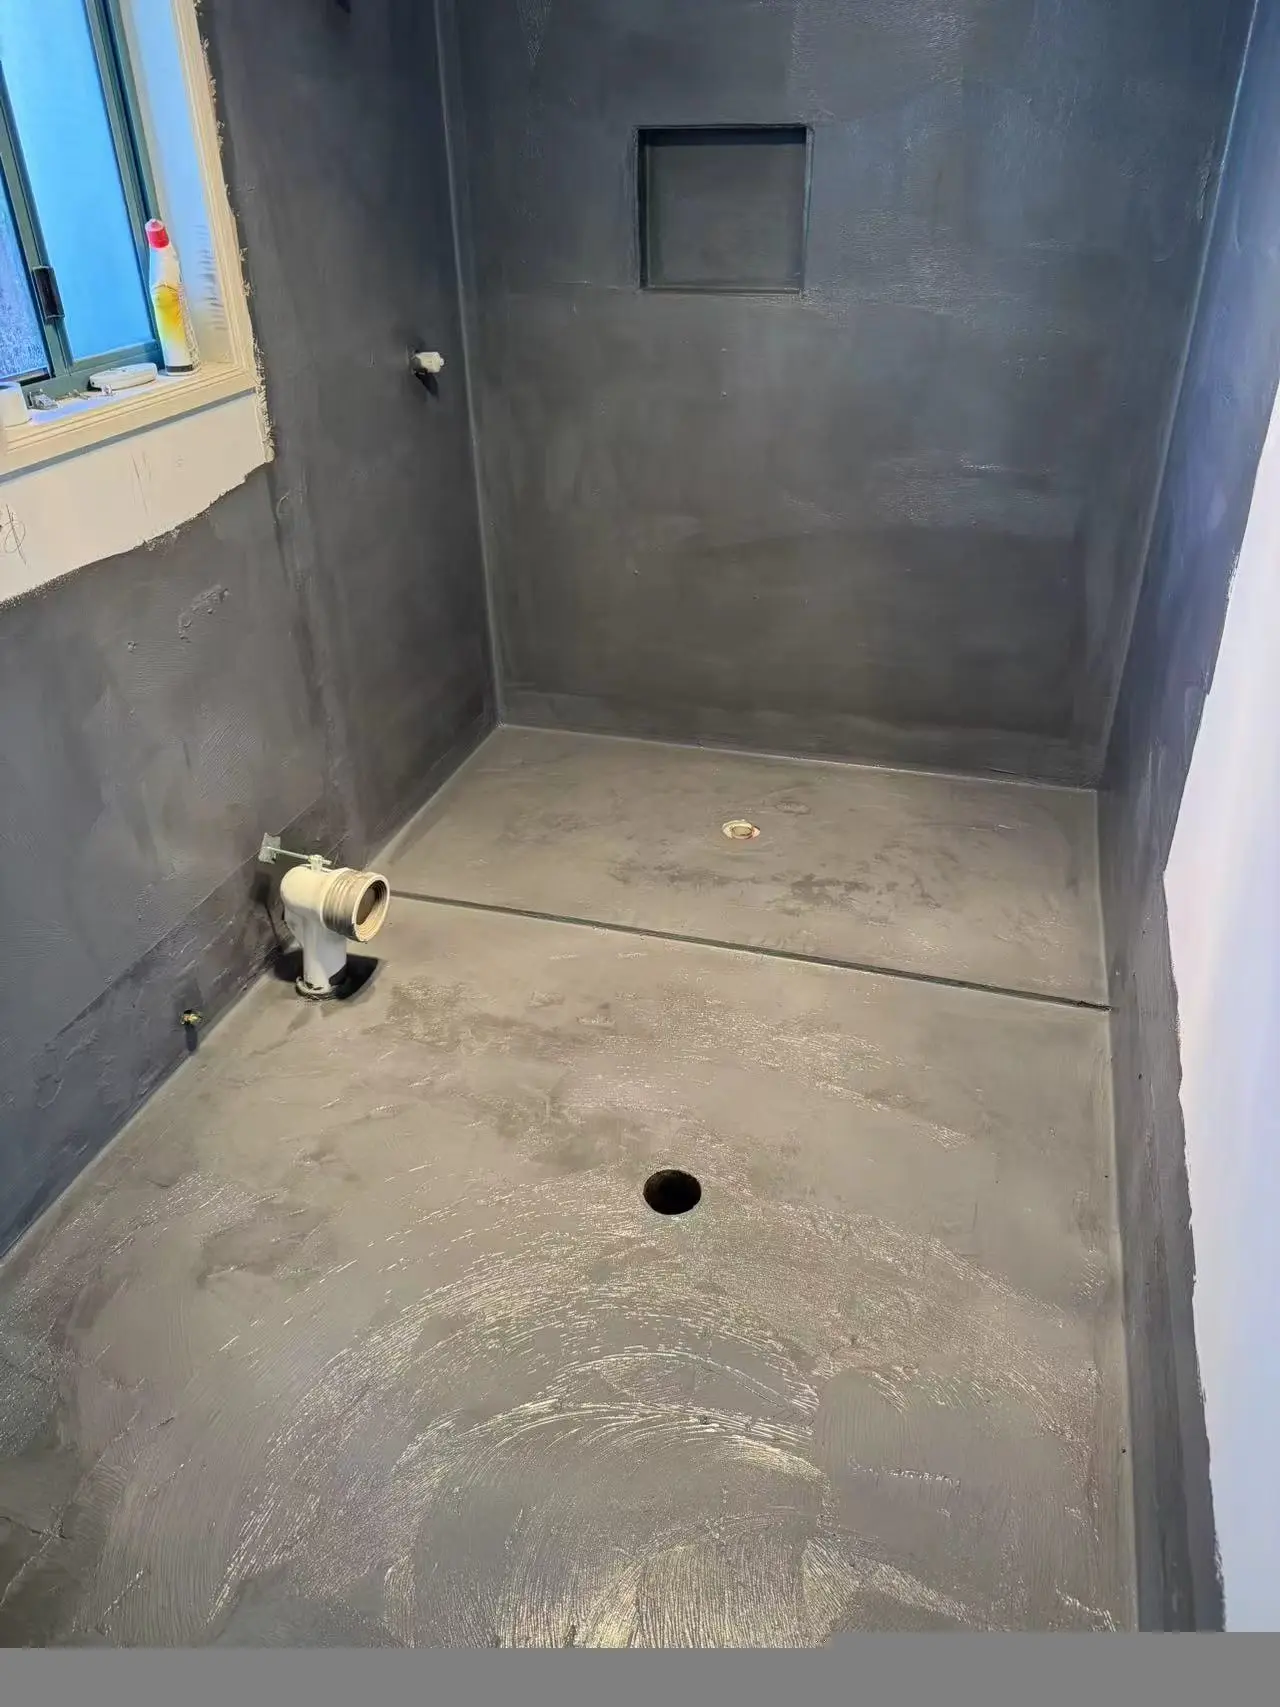 Stage 03
The wet-area walls and floor receive a waterproofing membrane before tiling begins.
Waterproofing membrane applied across the shower walls, floor and wet-area junctions.
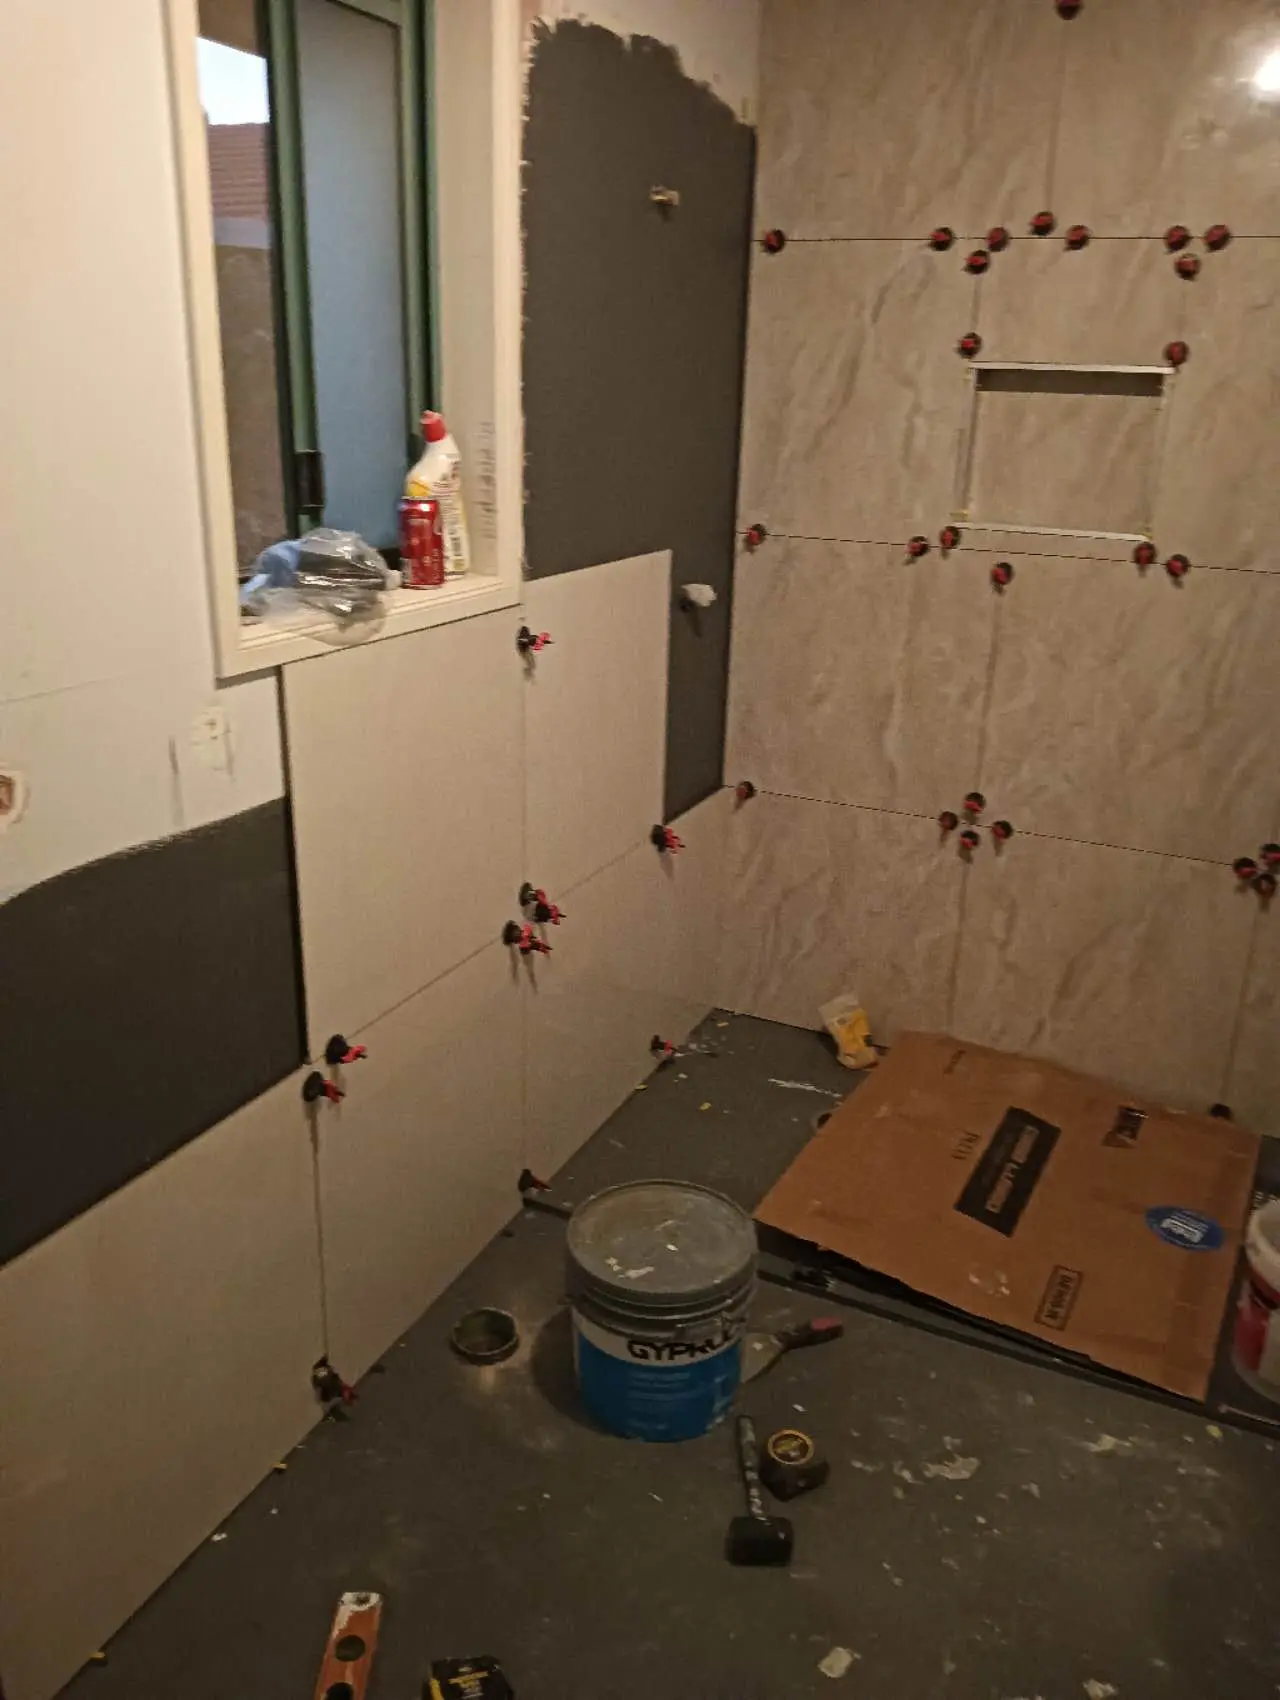 Stage 04
Large-format tiles are installed around the shower area, recessed niche and bathroom floor.
Wall tiling in progress with spacing and levelling around the shower niche.
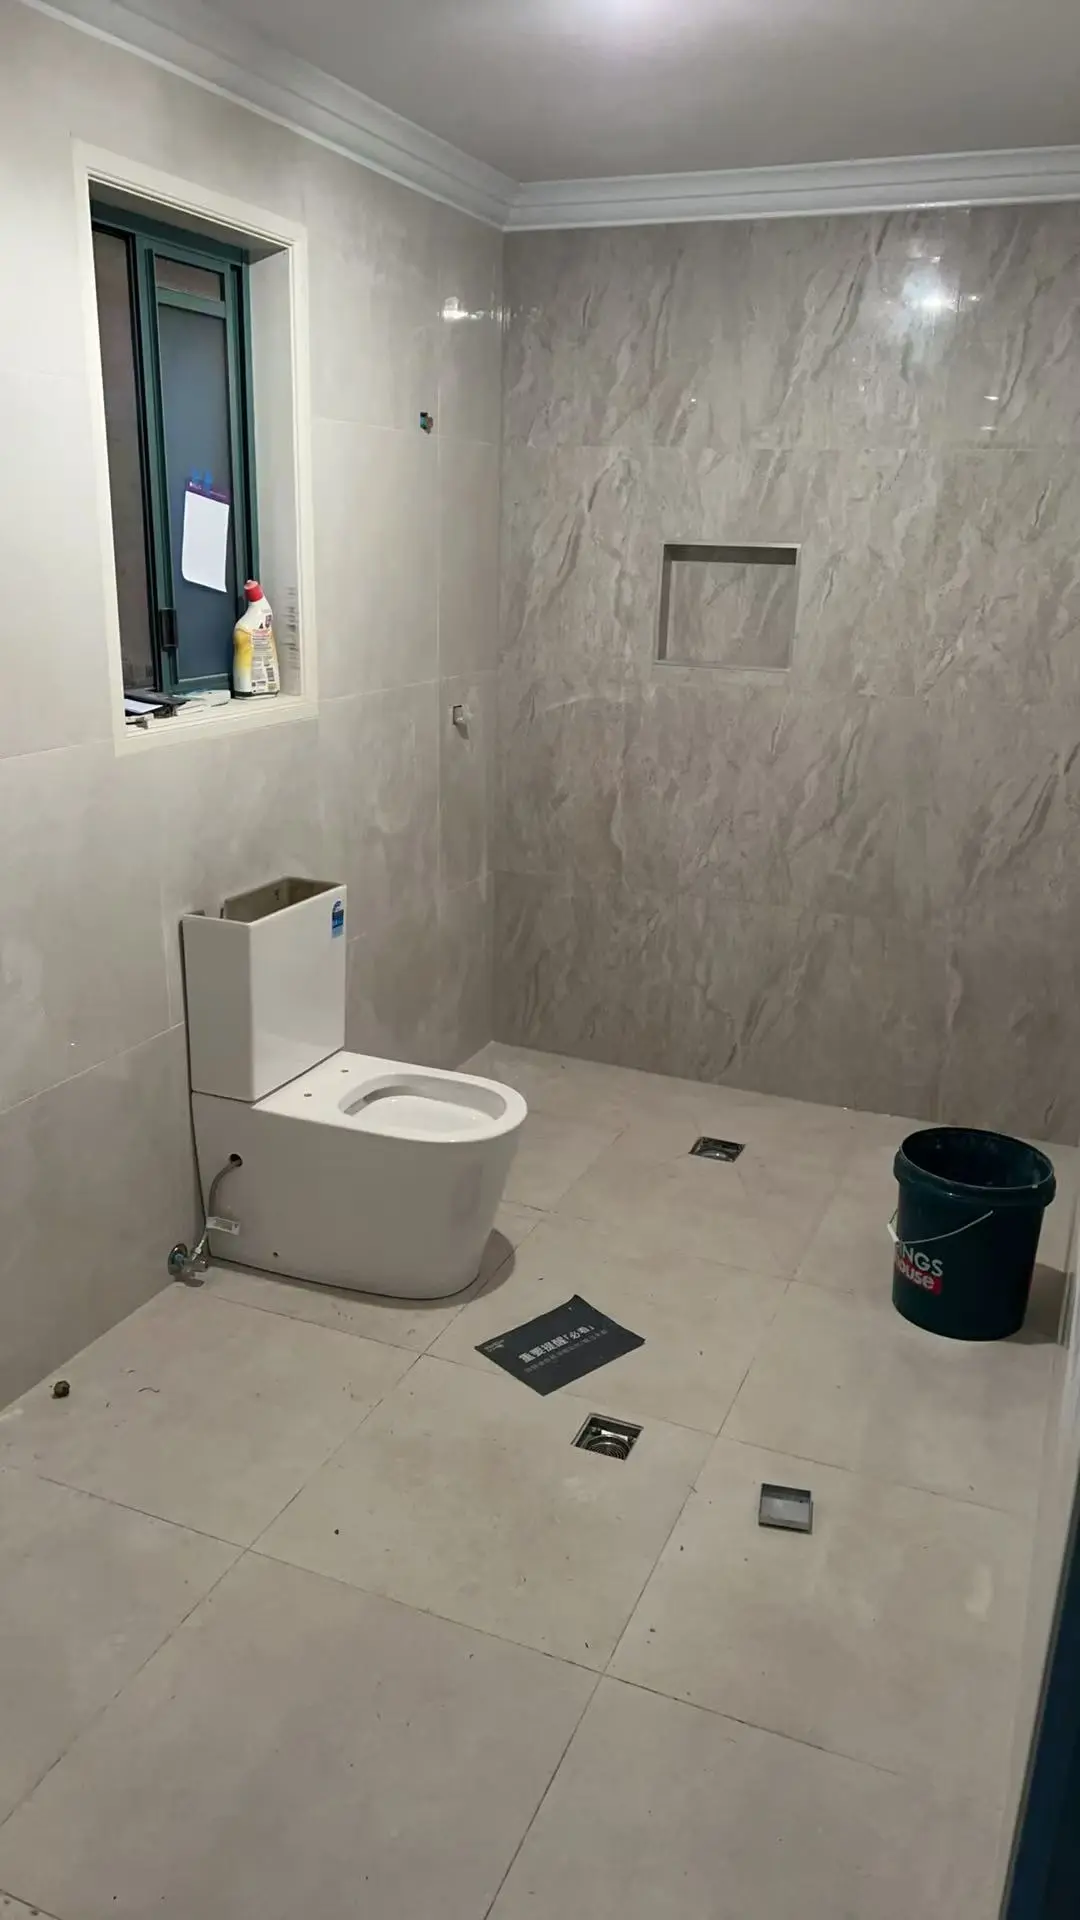 Stage 05
The toilet, vanity, shower fittings and glass screen are fitted as the room takes shape.
Toilet in place as the bathroom moves into final fit-out.
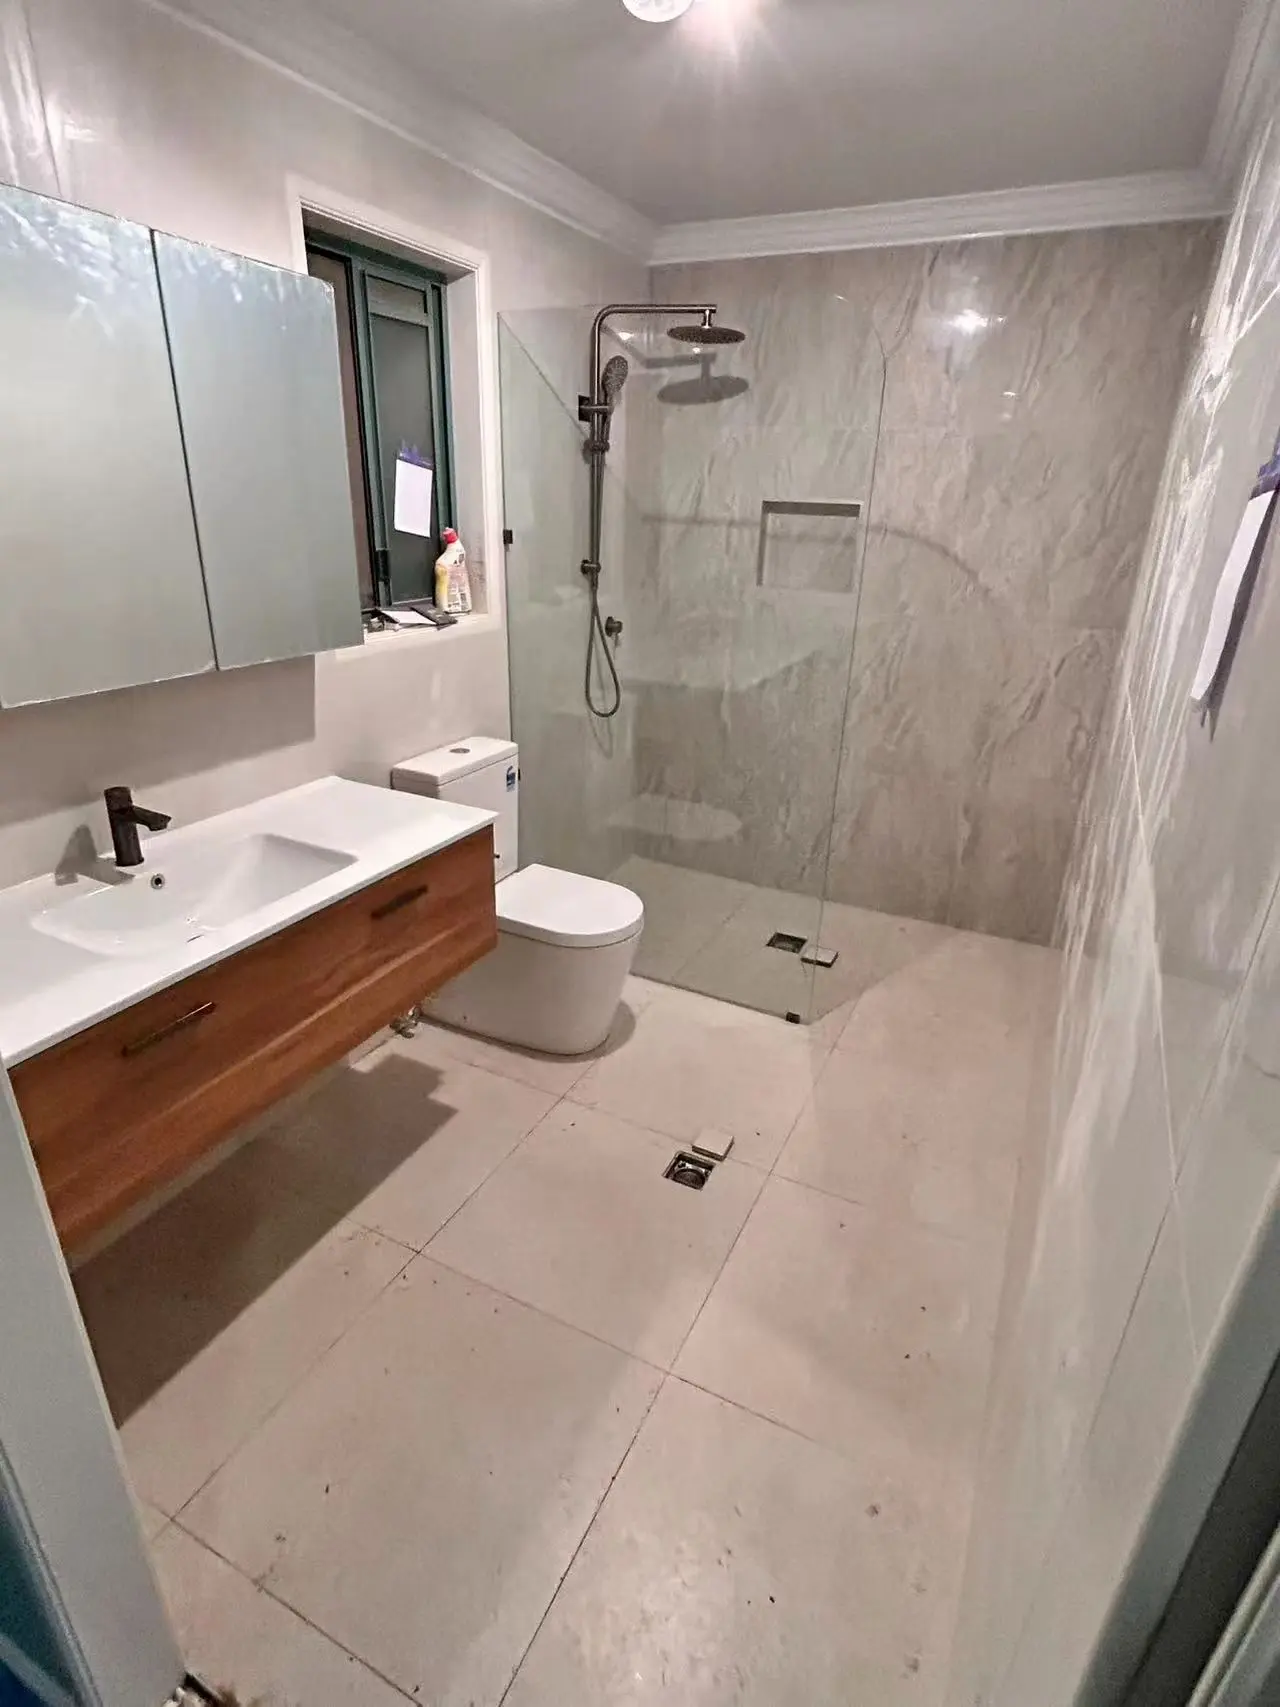 Stage 06
The finished space brings together the tiled shower, vanity, tapware and bathroom fixtures.
Finished bathroom with full-height tiling, a glass shower screen and timber vanity.
Planning a Brisbane bathroom project?